
❋
PUMP PREPARATION
The information provided here for pump preparation does not involve the use of the PumpLocked Platform; however, if this cleaning method is implemented, it reduces the cleanup required when rebuilding these pumps. If you have been taught a rebuild process that begins with pulling a cold pump in need of repair and disassembling it straight off the plural component from the truck. You know the mess that occurs when the pump is disassembled. This increases the cleanup time and the cleaning supplies required to clean the pump. The prepping process proposed here should be performed by a tech who is well-versed in how the pumps operate. Almost all OEM-built plural-component systems that employ Graco pumps are unique in configuration. However, once this cleaning process method is understood, it can be implemented for your system. The end result is hours of labor saved by not having to clean the pumps once they are removed for rebuilding. Also, will save tech hours from exposure to cleaning solvents.
SUPPLIES REQUIRED
1 gallon of Acetone. (Typically, a half gallon per pump)
An empty container per pump. The best is an empty DEF container with the top cut off. It is the perfect size and flexible enough to fit under the pump and make its way around the pump's check valve to reclaim the acetone it pulls.
An extra 1-gallon container per pump to drain the initial material from the pump.
3-foot-long parker hose with #8 JIC fittings. For the Catalyst pump. Hose loops from the pumps check valve back into the DEF container with acetone. (In order to reclaim the acetone as the pump is in recirculation).
Important:
When working with plural components, such as a long-line truck that uses a 2:1 ratio. It is best practice to eliminate pumps that will not need to be pulled off to rebuild. For instance, if only one white pump needs to be repaired, it is best to disconnect the other white pump at its piston connection to the hydraulic piston. If rebuilding both white, the best option is to disconnect the catalyst pump. If rebuilding all three, no disconnect is required until ready to do so, as described in the steps below. Anytime a pump disconnect is performed, it should always be done at its lower resting position. This is best because, by following the rebuilding method with the platform, the piston is fitted exactly at the hydraulic resting position.
Step1
Heat the material and begin circulating it through the pumps. Although this step is not necessary, it helps reduce component cleaning during pump rebuilding. This step is no different than preparing the pumps to begin striping. The warmer the material, the easier it is to wipe off.
Step2
Once the material has circulated enough to warm up the pumps, turn the pump off and allow it to rest at the bottom position. Shut the feed hose from the material tank. This should only be done for the material involved. For instance, if only working with white, then the white should be shut, and so forth for yellow and the catalyst.
Step3
Remove the line connected to the pumps’ check valve and cap it off to prevent material from flowing through it. Have a scrap bucket, a 1-gallon works fine, and hold it under the pump’s check valve. Remove the cap from the check valve, then have someone slowly raise the pump pressure to begin recirculation. This will start pulling any residual material from the pump and feed line and discharge it into the bucket. Once no material continues to discharge, you are ready to move to the next step. This usually takes 4 to 5 full pumps to get the material out.
Step4
Disconnect the feed hose from the bottom of each pump being worked on. Typical connections are either flanges or male cam fittings. If your system uses pipe fittings to connect the feedline, some ingenuity will be required to complete this step. Once the feedline has been disconnected, use the DEF container to fit under the pump's lower and ensure it wraps around the pump's check valve opening. Allow the container to rest flush with the pump's lower opening. This ensures you will not need to use extensive acetone to make it up to the pump's lower feed connection. When the DEF container is at this position, it takes roughly a half-gallon of acetone to keep the pump recirculating it back into the container from its check valve.
Acetone is being recirculated through the pumps, with DEF container under pumps to reclaim acetone and continue to recerculate it.
Step5
Once it is noticed that the material is coming through much more thinly and mostly looks as thin as the acetone itself, the pump has been sufficiently cleaned with the acetone. At this point, you can lower the DEF container to not allow the pump to pull any more acetone through; however, keep the container still over the check valve, as you will still circulate the pump a few more cycles in order to get as much of the residual acetone and material to come out of the check valve. Once it is noticed that not much is coming out, allow the pump to rest at its lower position and keep the container resting below the pump.
Step6
With the DEF container still under the pump, push a flathead screwdriver in opening of the lower (long enough to reach the lower ball). Make sure to be wearing gloves for this step! Once you push the ball up and release it, acetone from the bottom of the pump will be released. At this point, some residual acetone remains at the top of the pump and needs to make its way to the lower. This can be done by cycling the pump one more time and allowing it to rest at the bottom position again. Once this is done, use the flathead screwdriver once again to push the lower ball up to release the remaining acetone. Following this step ensures that when the pump is taken off the truck and transported at any point, the pump is positioned sideways, the balls of the lower and piston will be unseated, and any acetone in the pump can be released into unwanted areas.
Step7
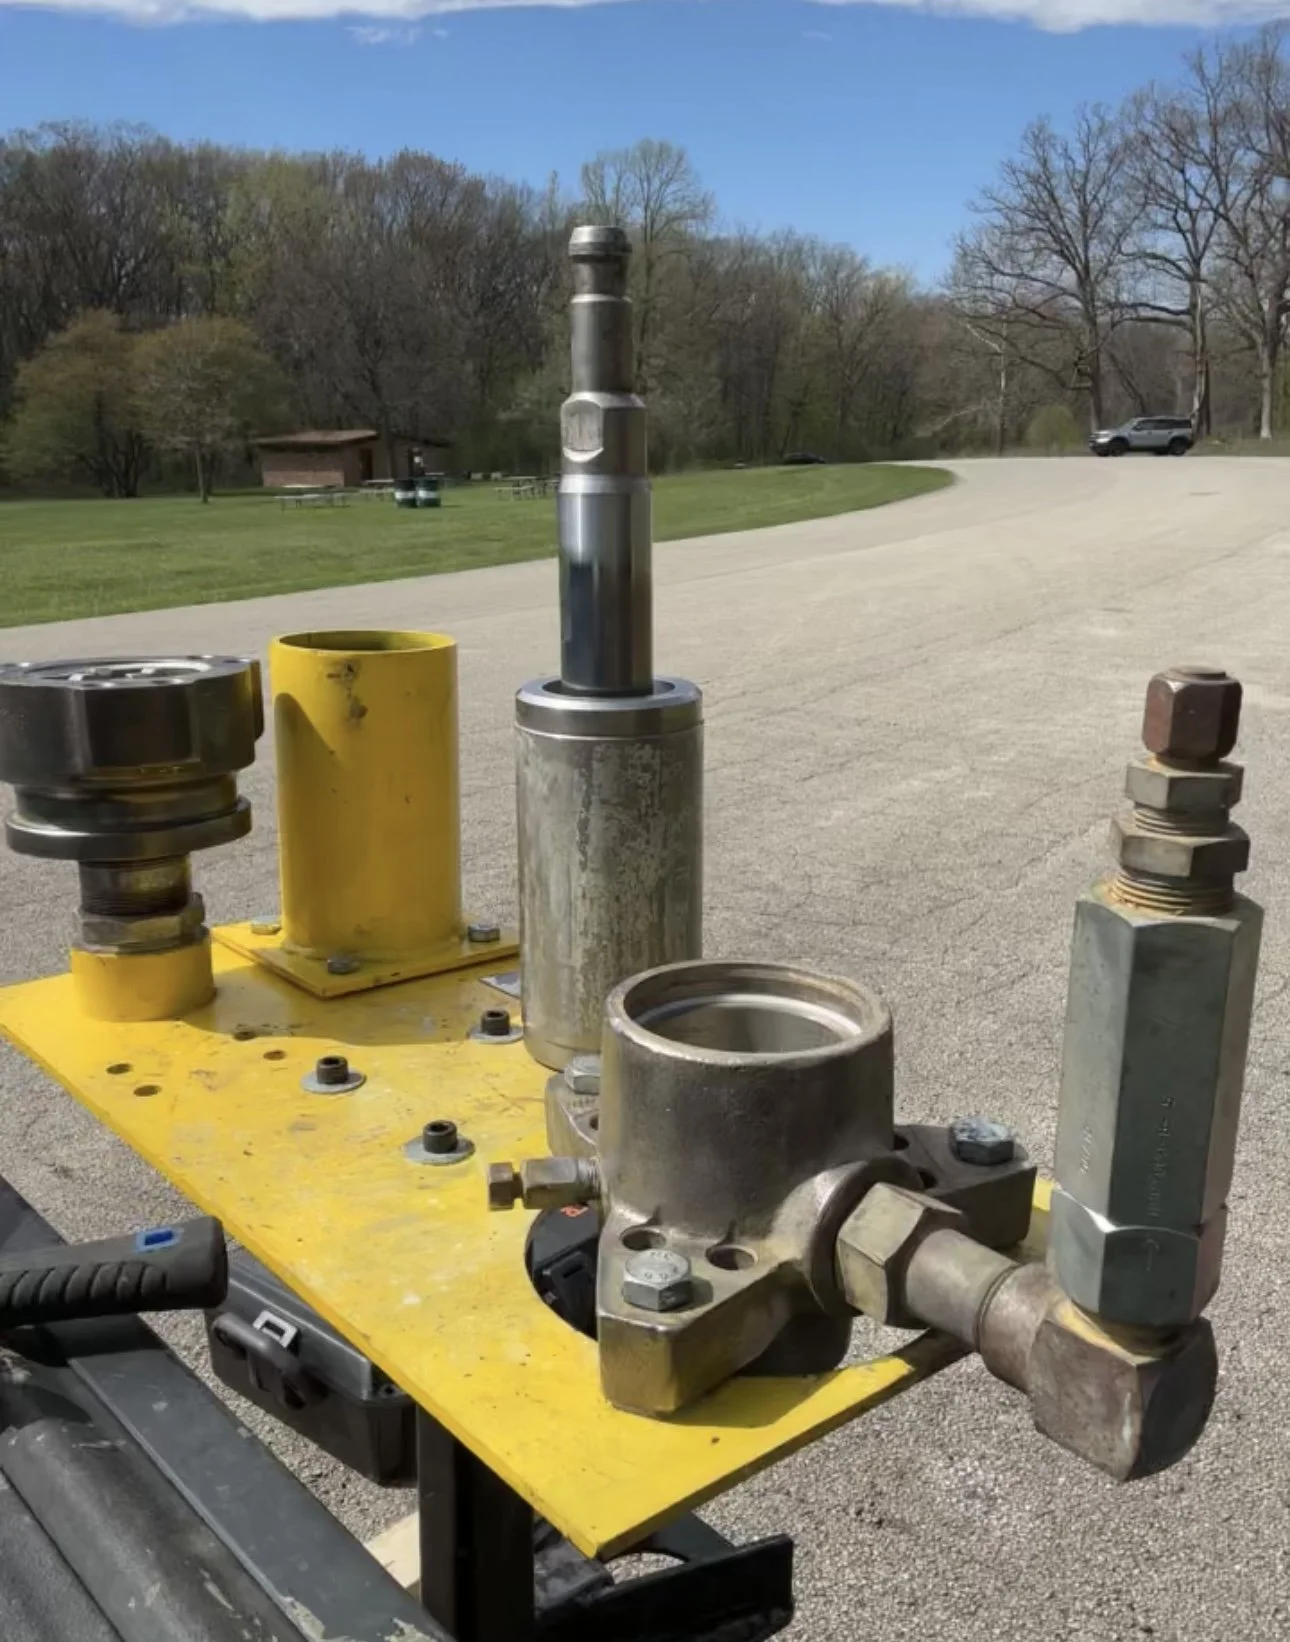
Final step. Once you have released any residual acetone from the pump(s), make sure the piston is seated at the lower position. Now you are ready to disconnect the pump(s) and follow the rebuilding instructions using the PumpLocked Platform.